Once the server has been assembled and all of its components have had their firmware updated (Intel Download Site) we configure our RMM via the server board’s BIOS.
- Turn the server on and F2 into the BIOS.
- Server Management Tab.
- BMC LAN Configuration
- Set the IP for the RMM
- In the shop we leave it DHCP so that we can remote into the server while here.
- Client’s site we tend to plug directly into the Internet and give it a static IP.
- Set the BMC DHCP Host Name
- Convention is a bit goofy (no special characters).

- Choose User ID and hit [Enter]
- Choose User3
- Privilege: Administrator
- User Status: Enabled
- Set the user name: JungleJim
- Set the user password: Icanacc3ssthis (x2)
- Choose User3
- We end up with this.
- F10 to save settings and reboot the server.


If using DHCP then check the network’s DHCP Server console for the IP that the RMM has picked up.
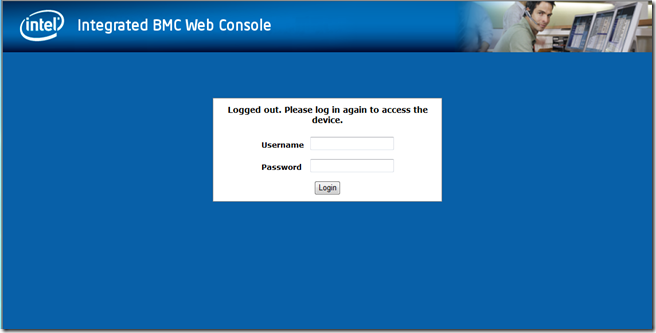
Open a browser and navigate to the RMM IP.

Log on with the credentials set. Barring two left thumbs we should be able to log in.